Ask any filmmaker what makes a film visually compelling, and nine out of ten will point to one thing: lighting. The tenth one will say cinematography, which — spoiler alert — is largely about lighting too.
Whether you’re filming a feature, a short, a doc, or even a micro-budget indie, your film’s look matters. In fact, it’s often the very first impression your audience gets. Before they absorb the story, the dialogue, the acting — they see the image.
In the age of high-resolution phone cameras and DIY setups, there’s no excuse for flat, muddy, or overly exposed footage. Great visuals don’t have to cost a fortune. But they do require thought, intention, and craft.
Here’s a breakdown of basic lighting and cinematography tips that will lift your film from amateur to cinematic — even on a shoestring budget.
Why Lighting is (Almost) Everything
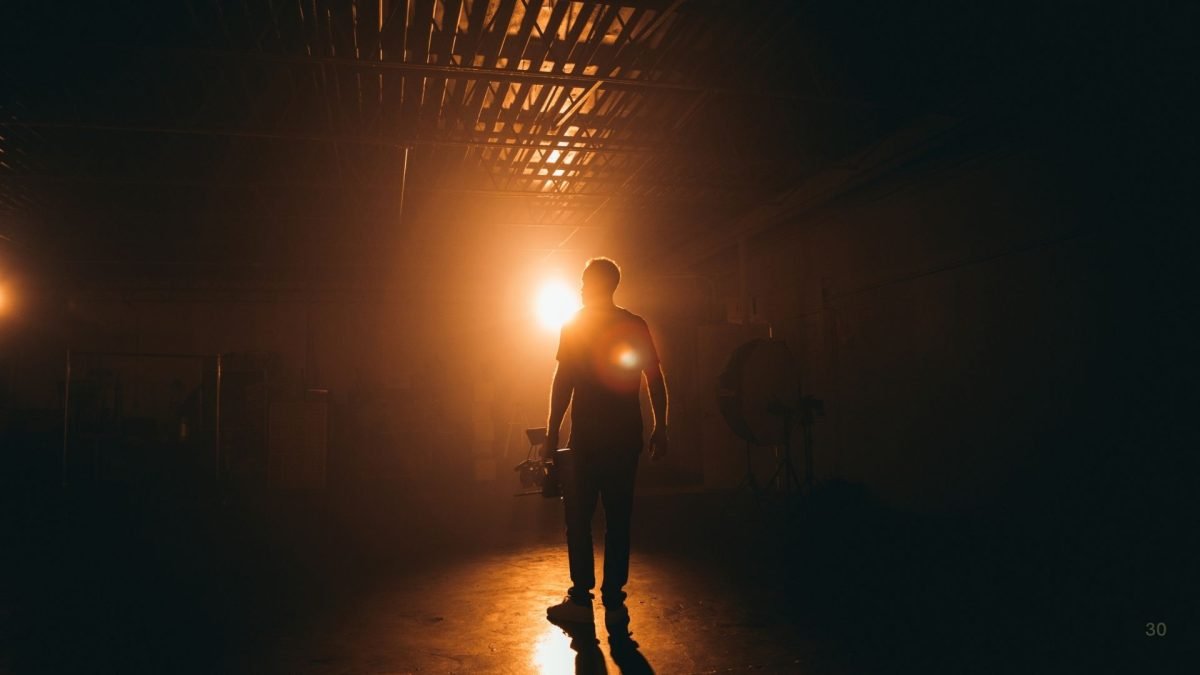
Lighting is storytelling. It sets mood, tone, emotion — it tells us what to feel before a word is spoken. Harsh lighting in a kitchen? We’re in a thriller. Warm candlelight? Romance or nostalgia. Deep shadows and sharp contrast? Possibly a noir.
Lighting also tells us where to look. It shapes the frame and guides the eye, much like a painter guiding a brushstroke. You’re not just lighting a subject — you’re sculpting the world they inhabit.
And perhaps most practically, lighting lets your camera see. Cameras need light the way plants need sun. No matter how good your gear, poor lighting will always reduce image quality and flexibility in post.
Basic Lighting Setups You Should Know
1. The Classic Three-Point Lighting Setup
This is the foundation of cinematic lighting:
- Key Light: Your main light source, often placed at a 45-degree angle from the subject. This defines the shape and contours of the face.
- Fill Light: Softer, placed on the opposite side to “fill in” shadows created by the key. Can be a reflector or bounced light.
- Back Light (or Rim Light): Placed behind the subject to separate them from the background and create depth.
This simple setup creates a pleasing, professional look for interviews, scenes, or monologues.
2. Natural Light is Your Friend (And Your Enemy)
Shooting with natural light is free — and beautiful when done right. But it changes constantly. Clouds roll in. The sun shifts. Magic hour only lasts 20 minutes. Here’s how to work with it:
- Golden hour (just after sunrise or before sunset) gives you soft, flattering light.
- Use reflectors to bounce light into faces or shadow areas.
- Avoid overhead sunlight (like midday) — it creates harsh shadows and raccoon eyes.
Always scout your location at the time you plan to shoot to understand natural lighting changes.
3. Use Soft Light for Faces
Hard light (from an undiffused bulb or harsh LED) can exaggerate wrinkles, blemishes, and make your subject look severe. Instead:
- Diffuse your light with softboxes, umbrellas, or even a cheap DIY solution like a shower curtain or tracing paper.
- Bounce your light off white walls or ceilings for a natural look.
- Get your light source close — the closer the soft light, the softer the shadows.
Cinematography Basics That Make a Big Difference
Lighting is only half of what creates a cinematic image. The other half is camera movement, framing, and composition. Here’s where cinematography comes in.
1. Think in Terms of Emotion, Not Just Image
Every shot should serve the story. Ask yourself:
- What does this character feel?
- What does the audience need to feel?
- How can I use camera position, movement, or focus to amplify that?
For example, a wide shot can show isolation. A handheld close-up can express anxiety. Low angles give power. High angles suggest vulnerability.
2. Frame with Intention
Use the rule of thirds to keep your shots dynamic. Place points of interest along the imaginary gridlines that divide the screen into thirds. But once you understand the rules — break them.
- Centre framing can feel unsettling or bold.
- Symmetry can express control.
- Negative space can isolate a character emotionally.
3. Don’t Move the Camera Without a Reason
Camera movement should feel motivated:
- Dolly in slowly to show a realisation.
- Pull back to reveal someone’s emotional distance.
- Handheld for chaos or intimacy.
- Static shots for reflection, power, or tension.
Don’t move just because you can. Let the story dictate the shot, not your gimbal or slider.
Gear vs. Technique: What Really Matters
Many first-time filmmakers obsess over gear. “Should I get a RED or a Blackmagic?” “Prime lenses or zooms?” “4K or 6K?” But here’s the truth:
A great story with basic lighting and thoughtful cinematography will always beat a boring story shot in 8K on an Alexa.
You can shoot a brilliant-looking short on a DSLR or smartphone — if you know your lighting and composition. Learn the principles. Master the basics. Gear helps, but it won’t fix a poorly lit, poorly framed shot.
Cheap Lighting Tricks That Work
You don’t need an Arri SkyPanel to light a film. Here are some low-cost lighting hacks:
- Clamp work lights from a hardware store + diffusion cloth = cheap key light.
- Foamcore or car windshield shades make great reflectors.
- Practical lights (table lamps, fairy lights, candles) not only look great but justify your lighting sources in-world.
- Smart bulbs like Philips Hue allow you to control colour and brightness from your phone.
Observe, Deconstruct, Recreate
The best way to learn cinematography and lighting? Watch films intentionally.
- Turn off the sound.
- Watch the shadows.
- Count the light sources.
- Note camera movement and when it changes.
- Recreate a shot you love using minimal equipment.
Try this: pick a scene from Drive (2011), Moonlight (2016), or Her (2013). Pause the frame. Now, reverse engineer how they lit it. What direction is the light coming from? What colour is it? Is it soft or hard? Then try to replicate it in your own setup.
Final Thoughts: It’s a Collaboration
Cinematography and lighting aren’t solo jobs. They’re collaborative efforts between the director, the cinematographer (director of photography — DP), the gaffer, and the production designer. The DP interprets the director’s vision, while the gaffer sculpts the light. The production designer ensures the space works with the visuals.
Even if you’re a one-person crew, start thinking like a team. Split your mindset: director hat, then DP hat, then lighting designer. Ask yourself: how does this help the story? What am I saying with this light, this lens, this frame?
In the End: Tell the Story With Light
Film is a visual medium. And nothing — nothing — affects your image more than how you light and frame your story. You don’t need fancy gear, just a trained eye, some basic tools, and a willingness to experiment.
So whether you’re shooting your first short in a bedroom, or prepping a feature with a crew, remember: Lighting isn’t about wattage — it’s about emotion. And cinematography isn’t about showing off — it’s about guiding your viewer through a story.
Get those fundamentals right, and your visuals will do more than impress — they’ll resonate.
Learn with us
Raindance has a variety of evening and weekend courses
Hands-on Lighting Workshop
Basic Cinematography
Raindance also presents a range of full time diploma and degree courses.
Explore the Raindance Higher Education courses here
